The contact list for your area should already be set up so we’ll just go through editing the already existing page.
To do this, log-in, navigate to the contact page, and select Edit
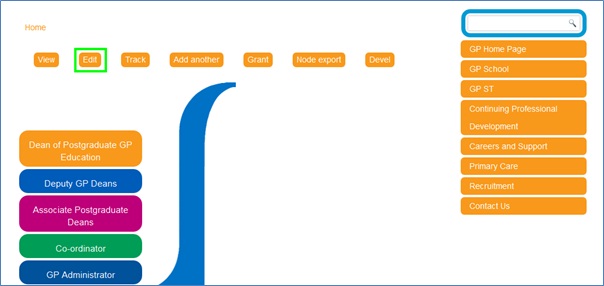
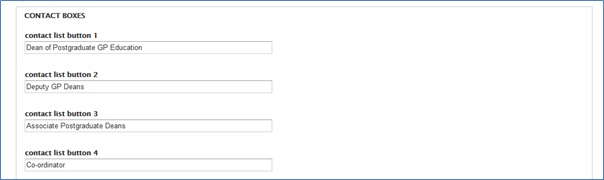
The contact list buttons on the left-hand side are the first fields you should enter.
These are listed as contact list button 1, contact list button 2 etc. You can have up to thirty contacts.
A good idea is to name the contact by the role they have in the organisation, rather than their name. Bear in mind that the order you put them in will be the order they appear on the page.
Once you’re done, scroll down until you come to the Contact List Text Box Container section.
The contact list button fields you just entered will match up with the text box container fields below. So contact list button 1 will correspond with field_contact_textbox_1 etc.
The field_contact_textbox field should contain the name and email address that you wish to add, along with telephone numbers or anything else you think is relevant.

The options available are similar to a word processor so should be familiar.
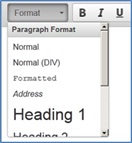
Under the Format drop-down menu there is an option for adding headings to separate out the text.
To add a link, highlight the text or image you want to become a link. Next, click on the  icon.
icon.
If you want to link to a website or document, select URL from the Link Type drop-down menu and enter the address in the URL field.
If you are linking to an external website or document, click on the Target tab and select New Window (_blank) from the drop down menu.
If you want to link to an e-mail address, select E-mail from the Link Type drop-down menu and enter the e-mail address in the E-Mail Address field.
You can also enter a default e-mail subject and/or message text if required.
Once you have entered the relevant information, press OK.
For advanced users you can select from the text format drop-down menu to write your own HTML code.
You can also debug existing text by selecting the Source button.


To add an image, scroll down to the Image picker section.

You can browse for already uploaded images by clicking on the Browse tab at the top on the image picker.
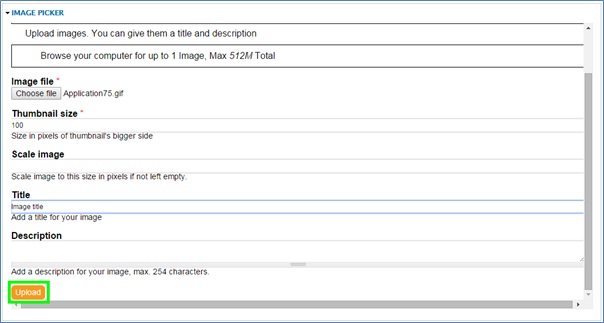
To upload your own image, select the Upload tab at the top of the image picker.
Click on the Choose File button underneath Image file.
This should open up a dialogue box where you can search for your saved image.
This image can be in either jpg, png, or gif format.
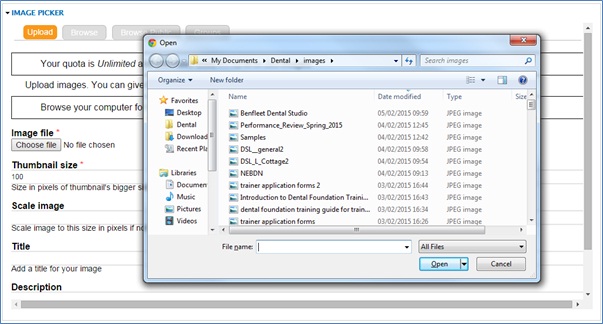
Once you have selected your image, press Open.
Enter a Title for the image and, if required, a Description.
Then click the Upload button below the Description field.
You should see a new section open with Align, Show and Link options.
You can either edit the image here or once it’s already on the page.
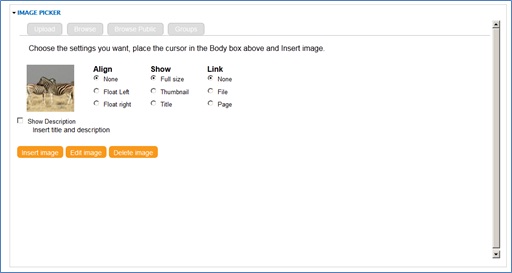
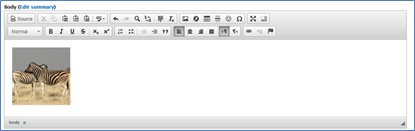
After you have clicked on insert image the picture should appear in the body section.
You can drag and drop the image around the page.
There are multiple options for editing the image. You can access these options by right-clicking on the image and selecting image properties.
There is then a pop-up box that appears with three tabs.
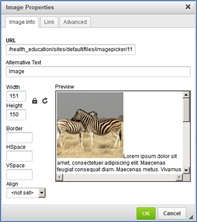
In the Image Info tab you can alter the size of the image and also align it on the page.
Within the Link tab you can add a hyperlink to another page when the image is clicked on.
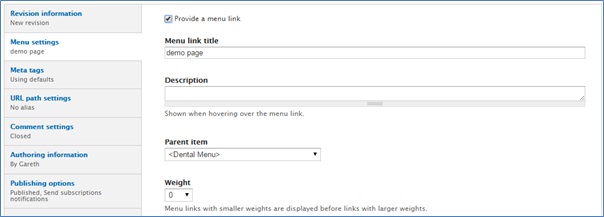
Select Provide a menu link.
For Menu link title, Description and Weight options you can keep their default options.
The parent item should be whichever page you want the new page to be linked from.
It is extremely important that you add a menu link otherwise no-one will be able to access the page.
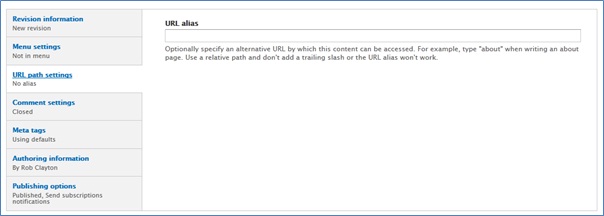
The URL alias should be given a name that relates to the title of the page. It is important that there are no spaces in the alias as these will be interpreted as percentage marks. So a page called ‘Title Page’ could be given a URL alias of ‘title_page’. The alias cannot be the same as another page: you will be informed if this is the case because it will not allow you to save.
Once you’re happy with what you’ve done, all you need to do is press Save at the bottom of the page.

Upon refresh, you should see your completed page.